How It Works?
Our risk assessment process commences with extensive data collection, succeeded by meticulous analysis employing advanced fraud prevention rules to assign a risk score. Subsequently, the end user is prompted to undergo specific verification steps to mitigate identified risks, thereby ensuring proactive protection against potential threats.
Risk Assessment using existing model:
- Navigate to the Product Demo > Risk Assessment
- Select the option to Duplicate an existing Risk Assessment Model.
- Once duplicated, proceed to click on the Start Demo button to begin utilizing the newly duplicated Risk Assessment Model.
Risk Assessment by creating a new model:
- Navigate to the Product Demo > Risk Assessment
- Click on the "Create New" button to initiate the creation of a new model.
- After creating the model, be sure to save it.
- Once saved, you can begin utilising the newly created Risk Assessment Model for your needs.
caution
Risk Assessment Models can only be created through Shufti's BackOffice.
Following steps are required to create a new Risk Assessment Model:
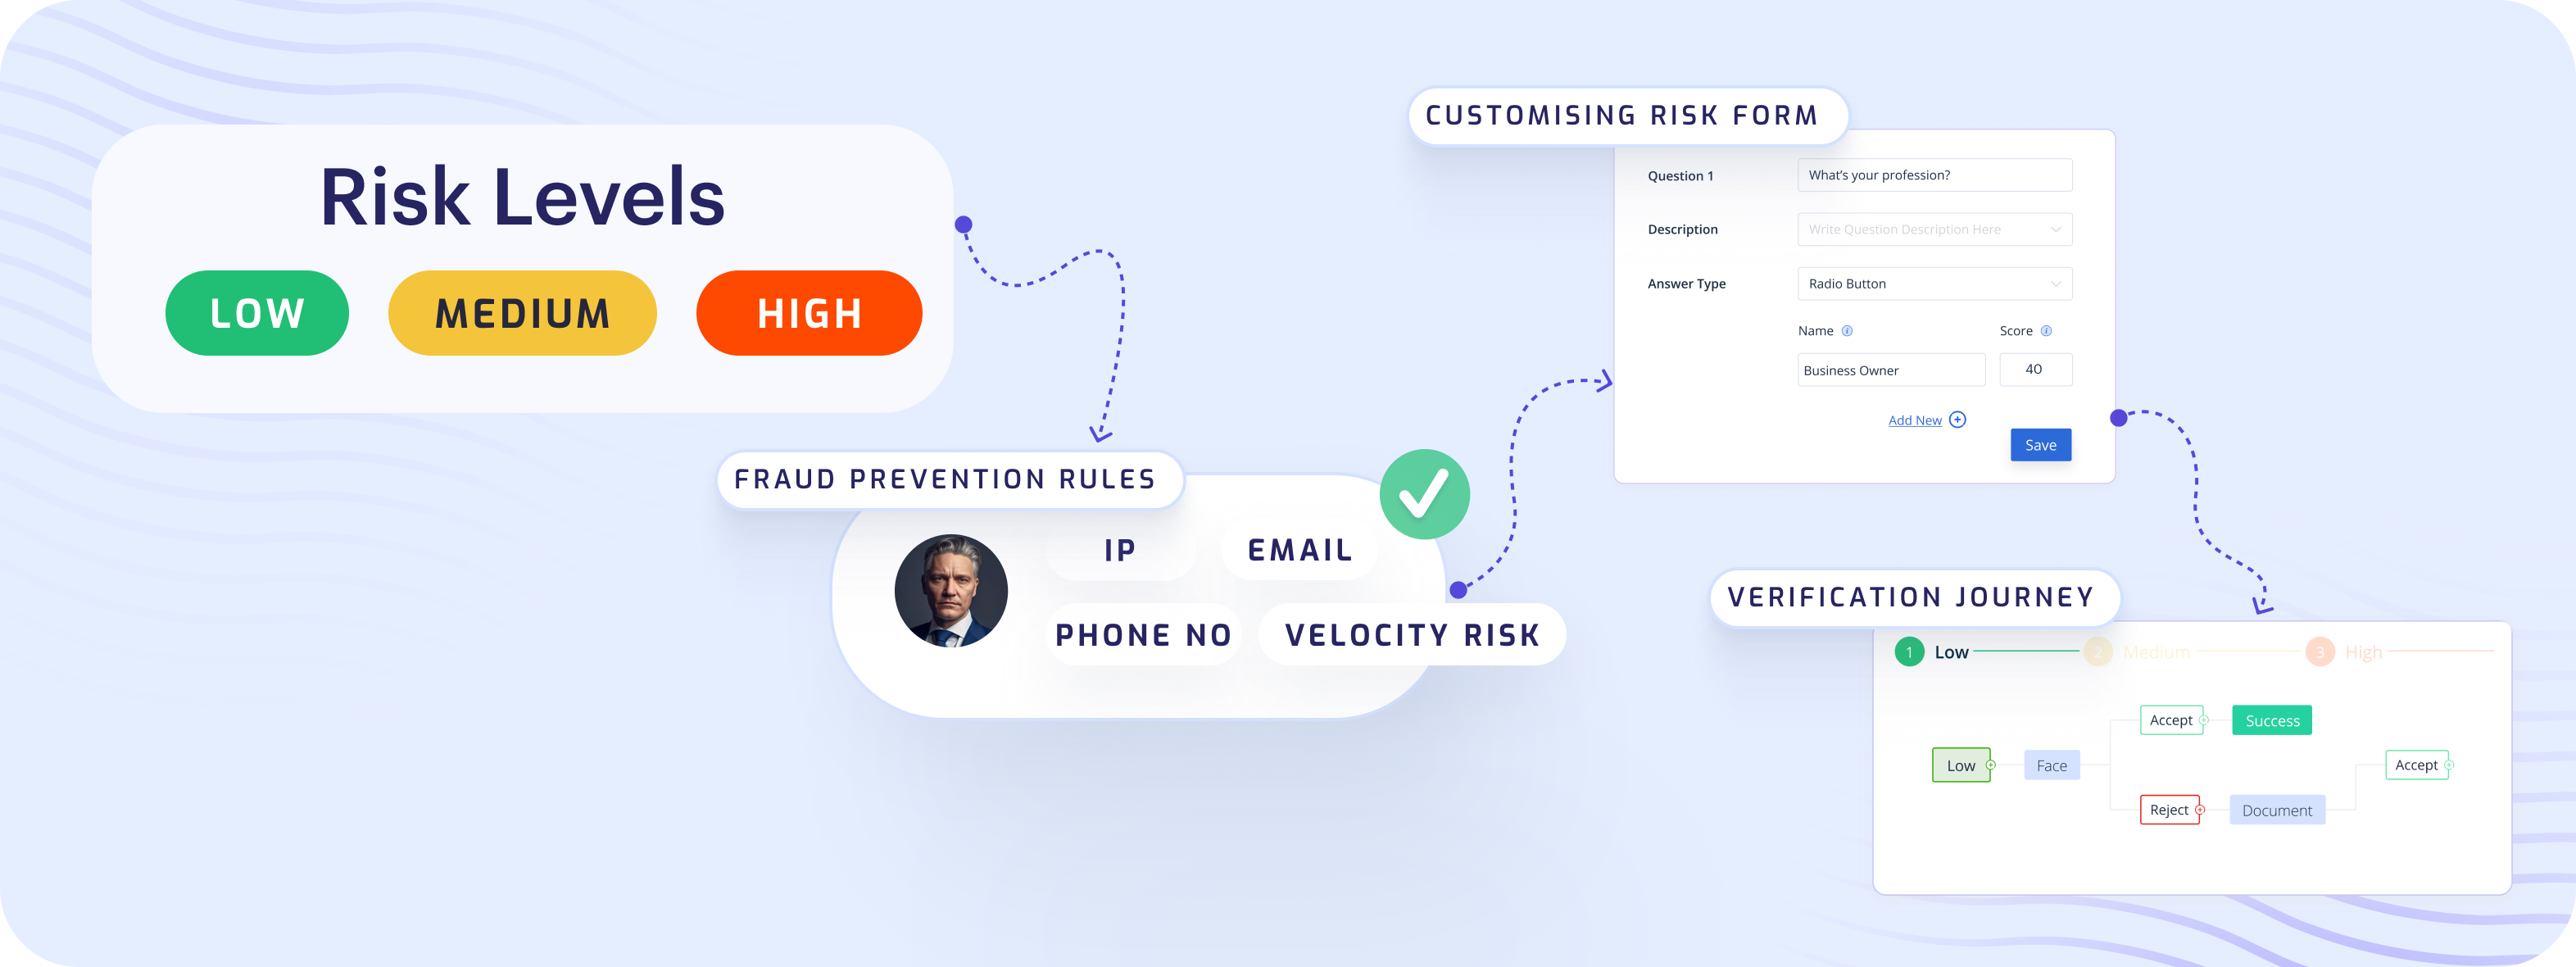
- Setting up Risk Ranges: Establish a weighted scale to define risk levels, ranging from low to medium, high, and prohibited.
- Fraud Prevention Checks: Set fraud prevention rules that align with your unique business requirements by checking the customer’s PhoneNo, IP, Email, and Velocity risk.
- Customising Form: Create multiple customised risk forms with several answer types by adding scores against each answer option.
- Customised Verification Journey: Configure a KYC journey pathway for each customer, based on their risk assessment.
info
The Risk Assessment Service is available for onsite only and before passing the Risk Assessment object in the API, please make sure that you have copied the correct risk_reference from the Risk Assessment Section listed in Products Section and the Risk Assessment must be active as well.