API Integration Guide:
A Developer’s Toolkit
Integrate swiftly with Shufti Pro's API and build a foundation of trust with your users. Experience a hassle-free setup process optimized for streamlined customer onboarding and robust user verification.
Transform your identity verification with our versatile integration tools. Designed for ease and security, they offer seamless user experiences and customisable options, including a robust on-premise solution.
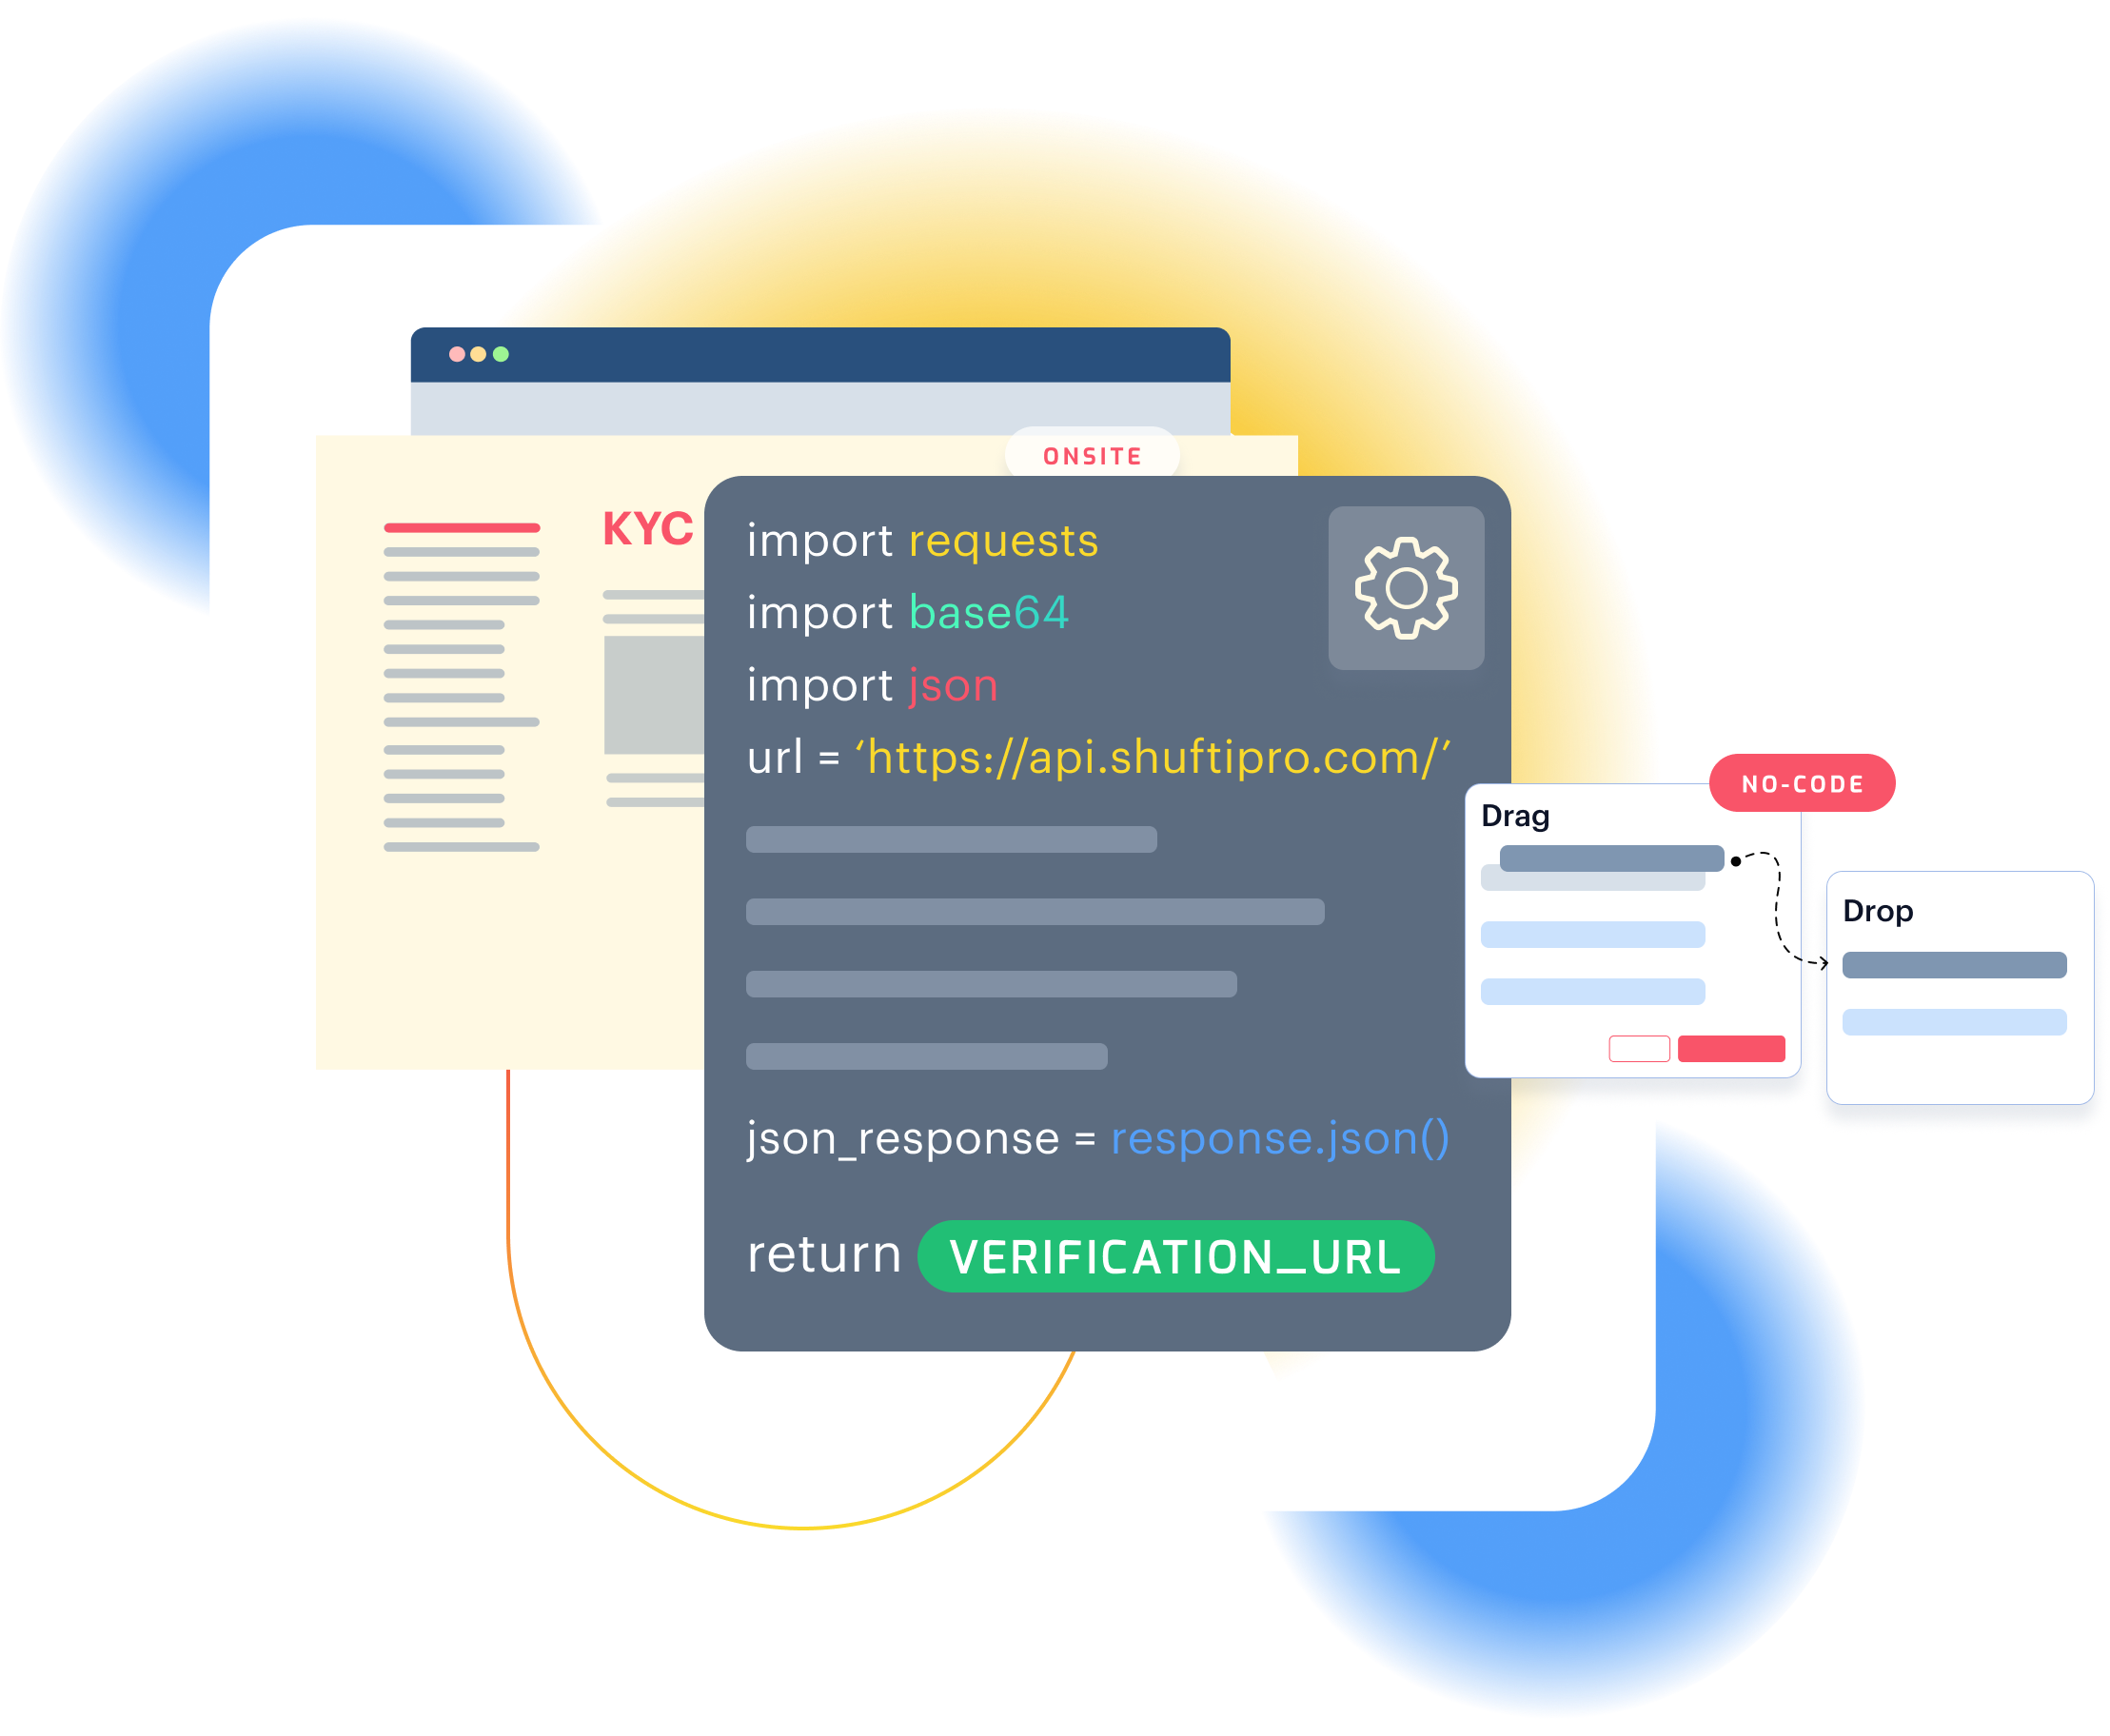
Redefine data interaction, merging simplicity with robust functionality for a smoother, faster, and more reliable Digital Experience with our RestfulAPIs.
SDK equipped with sophisticated ID verification capabilities, designed to provide a seamless experience on both smartphones and tablets.
Get a customised verification page with your branding and custom company name URL to verify users, with more confidence.
Gain complete control of your customers' data by deploying an in-house identity verification solution for a secure and reliable experience.
Plug & Play Integration
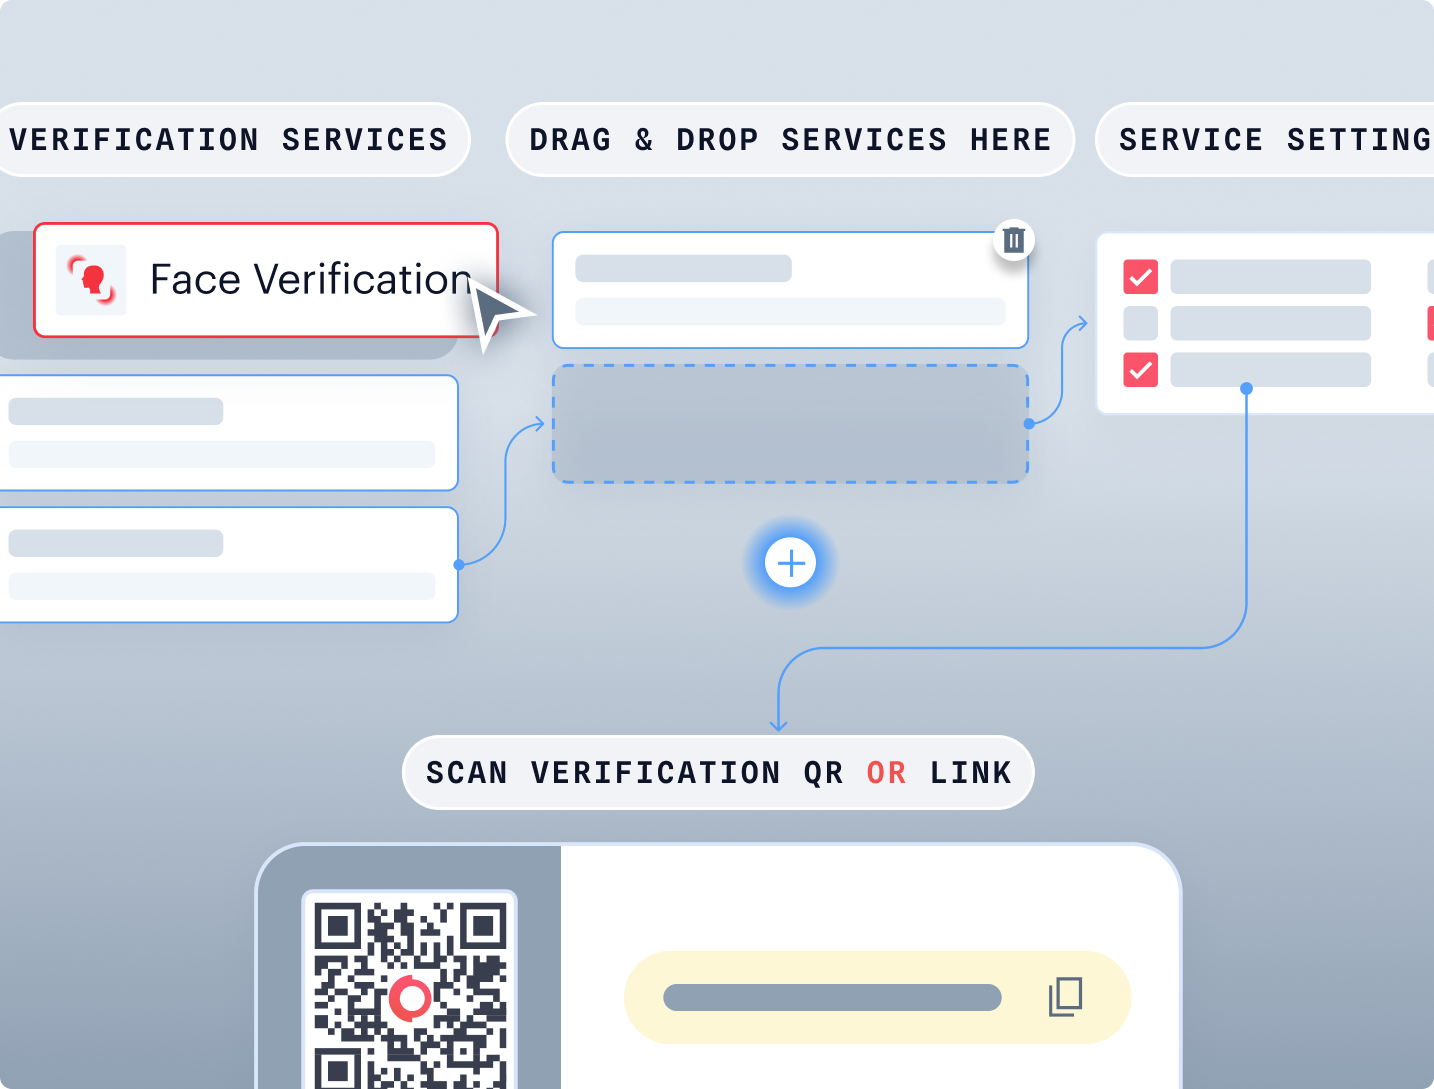
No-Code Journey Builder
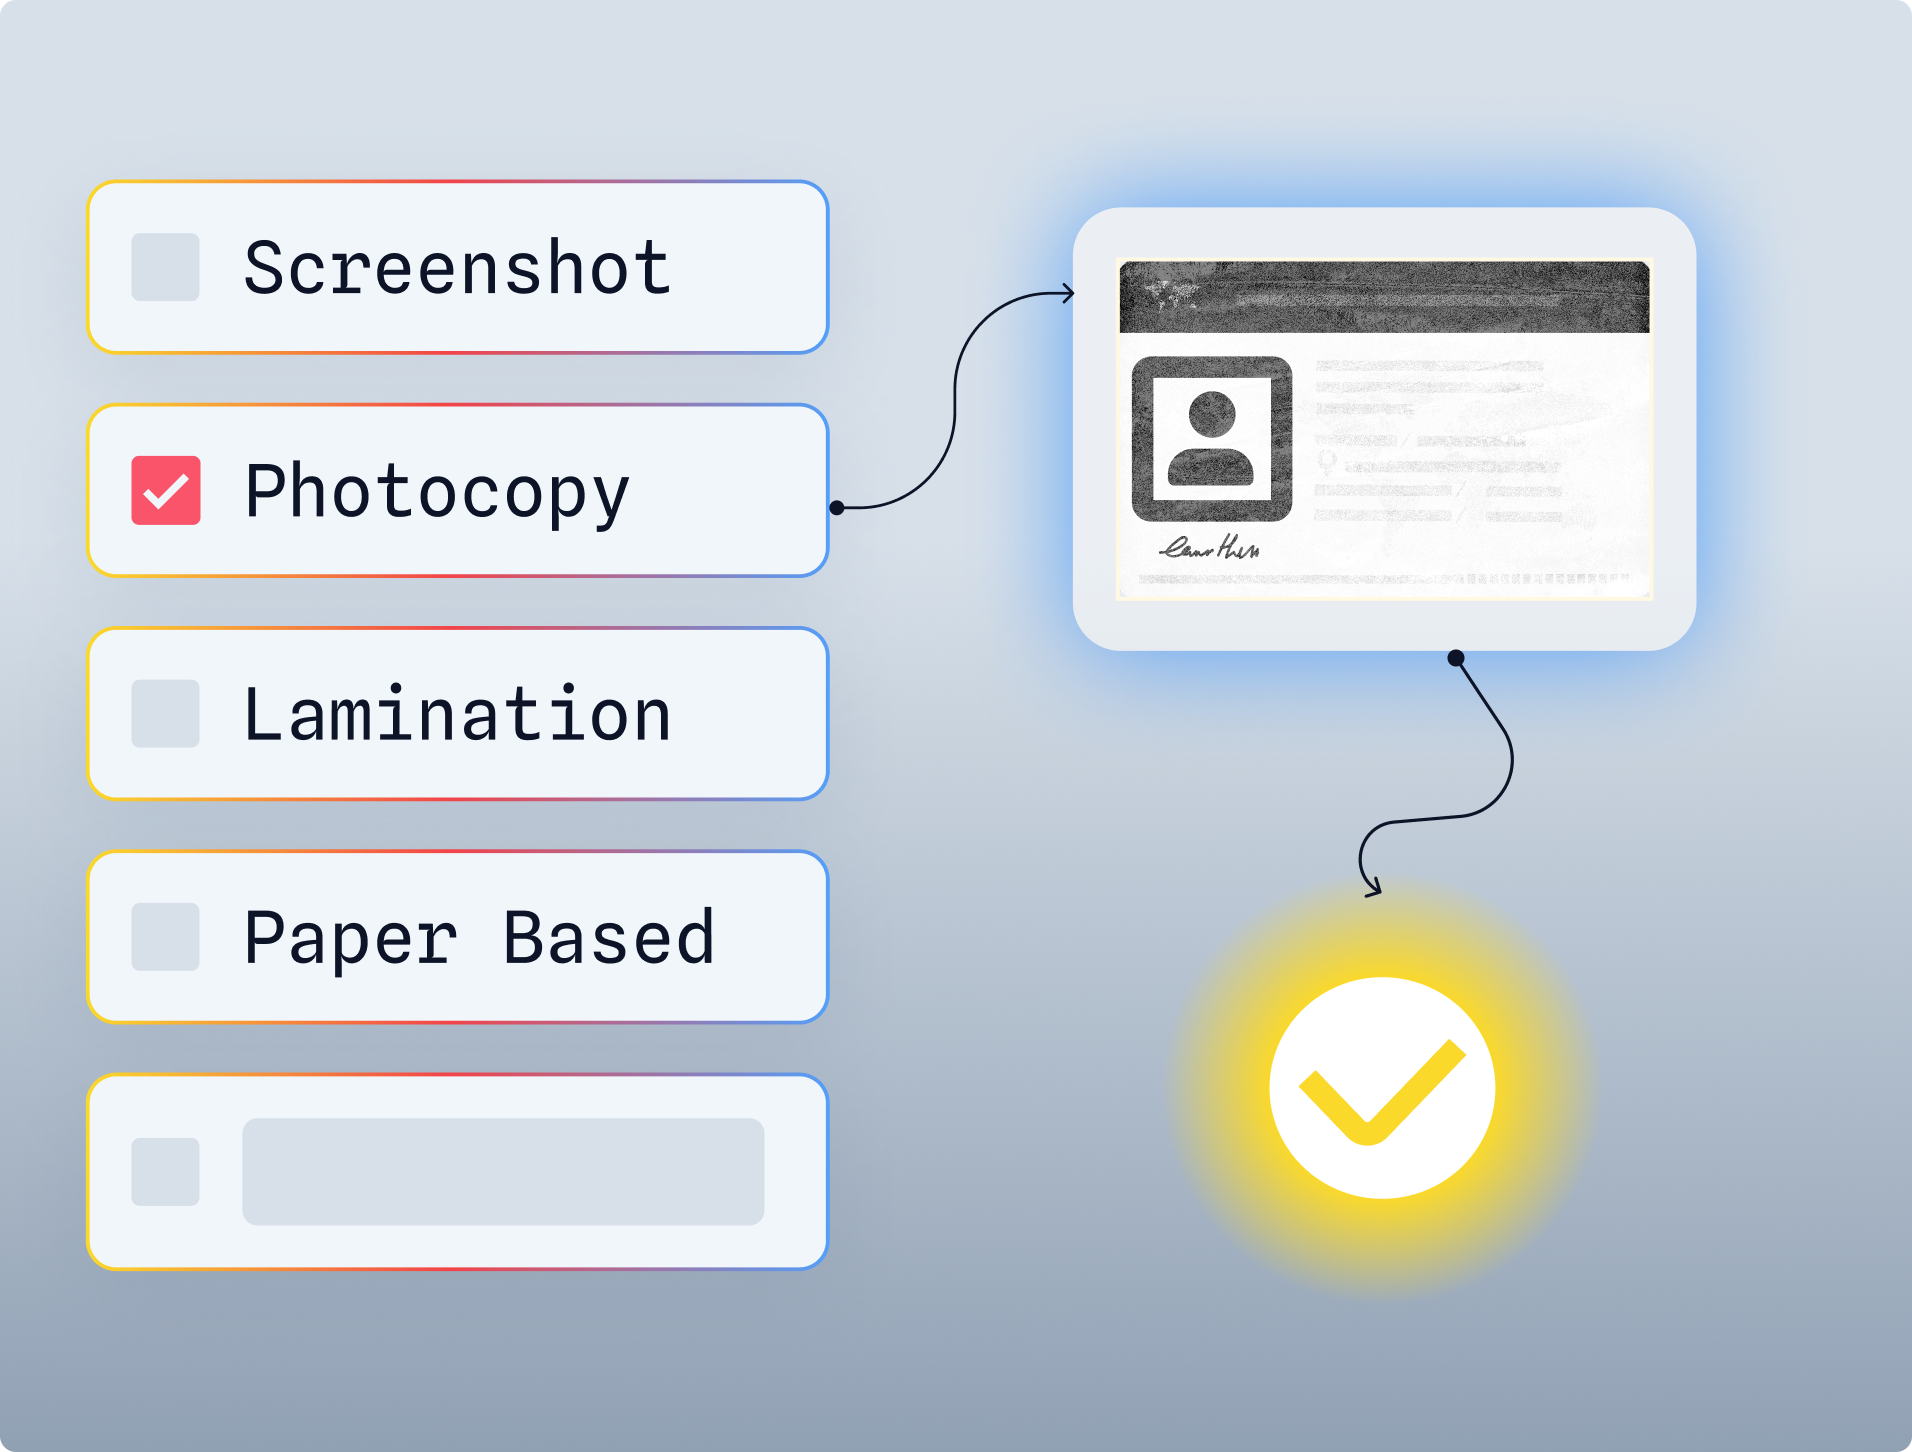
Document Authenticity Settings
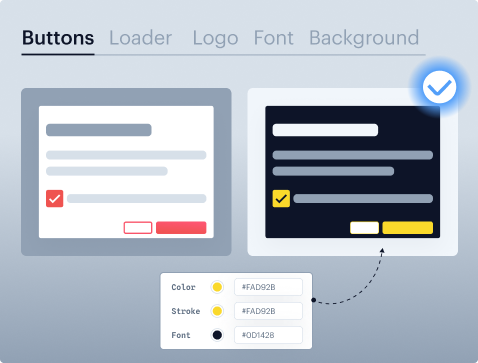
iFrame Branding

FAQ's
Find answers to your most common questions in our FAQ section.
To check if the response is received from Shufti’s end, you can calculate the signature on your end by following these steps:
- Take SHA256 of the Secret Key string.
- Concatenate hashed Secret Key at the end of the raw response string. (i.e. response + hash('sha256', secret_key)).
- Take SHA256 of concatenated string.
- Match the SHA256 string with Signature value from the header of the response.
Example: hash('sha256', response . hash('sha256', secret_key))
For more details, please visit the mentioned link: Response Signature
Once a verification request is completed, you may request at the status endpoint (api.shuftipro.com/status) to get the verification status as well as the proofs URLs that the user had provided to Shufti during the verification journey.
To access proofs, clients should send a POST request to a specific endpoint with their access_token included in the request payload. Please note that the access_token must be valid, and the request method must be POST; otherwise, the server will return an error.
For more details about the status endpoint and access proof URLs, please visit the mentioned below links:
Shufti offers the clients to specify a callback URL in the API request on which server-to-server calls are sent that notifies the client about the status of the verification.
The system posts the extracted data, geolocation, and browser info details in the callback response. Please note that you have to define/register that callback URL in your back-office first under the settings tab.
Yes, Shufti does provide you the flexibility to customize the verification journey as per your requirements.
You can use the following key(s) on a service level, and the end-user will be prompted to provide the image/video according to the verification mode defined:
- “verification_mode” : “image_only”
- “verification_mode” : “video_only”
- “verification_mode” : “any”
Before initiating a verification request, you may use the following exact parameter in the global body of API payload.
This action will trigger the system to send an initial event “request.received” which indicates that the request has been received for processing. The system will then send back a final event after complete processing.
“show_results” : “0”
Yes, Shufti does provide this option out of the box.
In order to fetch each individual report via API, you will need to call our status API against the respective verification request. Please visit the link below to check further details about status API.
Yes, Shufti allows you to make an API call including a maximum of five Questionnaires.
These Questionnaires will run in a specific sequence defined in the API call.
We’ve in-house developed advanced AI models that are capable of verifying the originality of the ID document after performing numerous checks that are listed below.
These AI models are capable enough to detect the latest challenges based on Deep Fake technology with an accuracy of 99% as well as ID theft of legitimate documents and everything in between:
- Format Identification
- Detecting crumpled/folded edges
- Checking for tampering/forgery/photoshop
- Verifying holograms/rainbow prints
Yes, the system does trigger a retry option in real-time if the following key is being used in the global body of API payload.
“allow_retry” : “1”
Note: The retry option is only given in case of ONSITE process.
Shufti offers cross-platform SDKs for easy integration into mobile applications, including Android, iOS, Flutter, and React Native.
Visit the following link to access our comprehensive mobile documentation.