Introduction
Shufti Pro, a UK-based Software as a Service (SaaS) provider, is a pioneer in offering real-time identity verification services across 230+ countries and territories, helping businesses to comply with KYC, KYB and AML regulations. The solution also allows companies to determine and overcome the fraud risk with its fully automated ID verification services, including document authentication, face verification, consent verification, facial biometric recognition, phone verification, anti-money laundering screening and 2-factor authentication.
A user-friendly interface with a straightforward API integration procedure enables businesses to onboard legit customers seamlessly and helps to develop trustworthy B2B relationships. Shufti Pro’s ID verification services are fit for all industries, including FinTechs, Virtual asset service providers, banks and much more. Choosing Shufti Pro can fight crimes, increase productivity, and enhance conversion rate in less than a second.

SDK Platforms
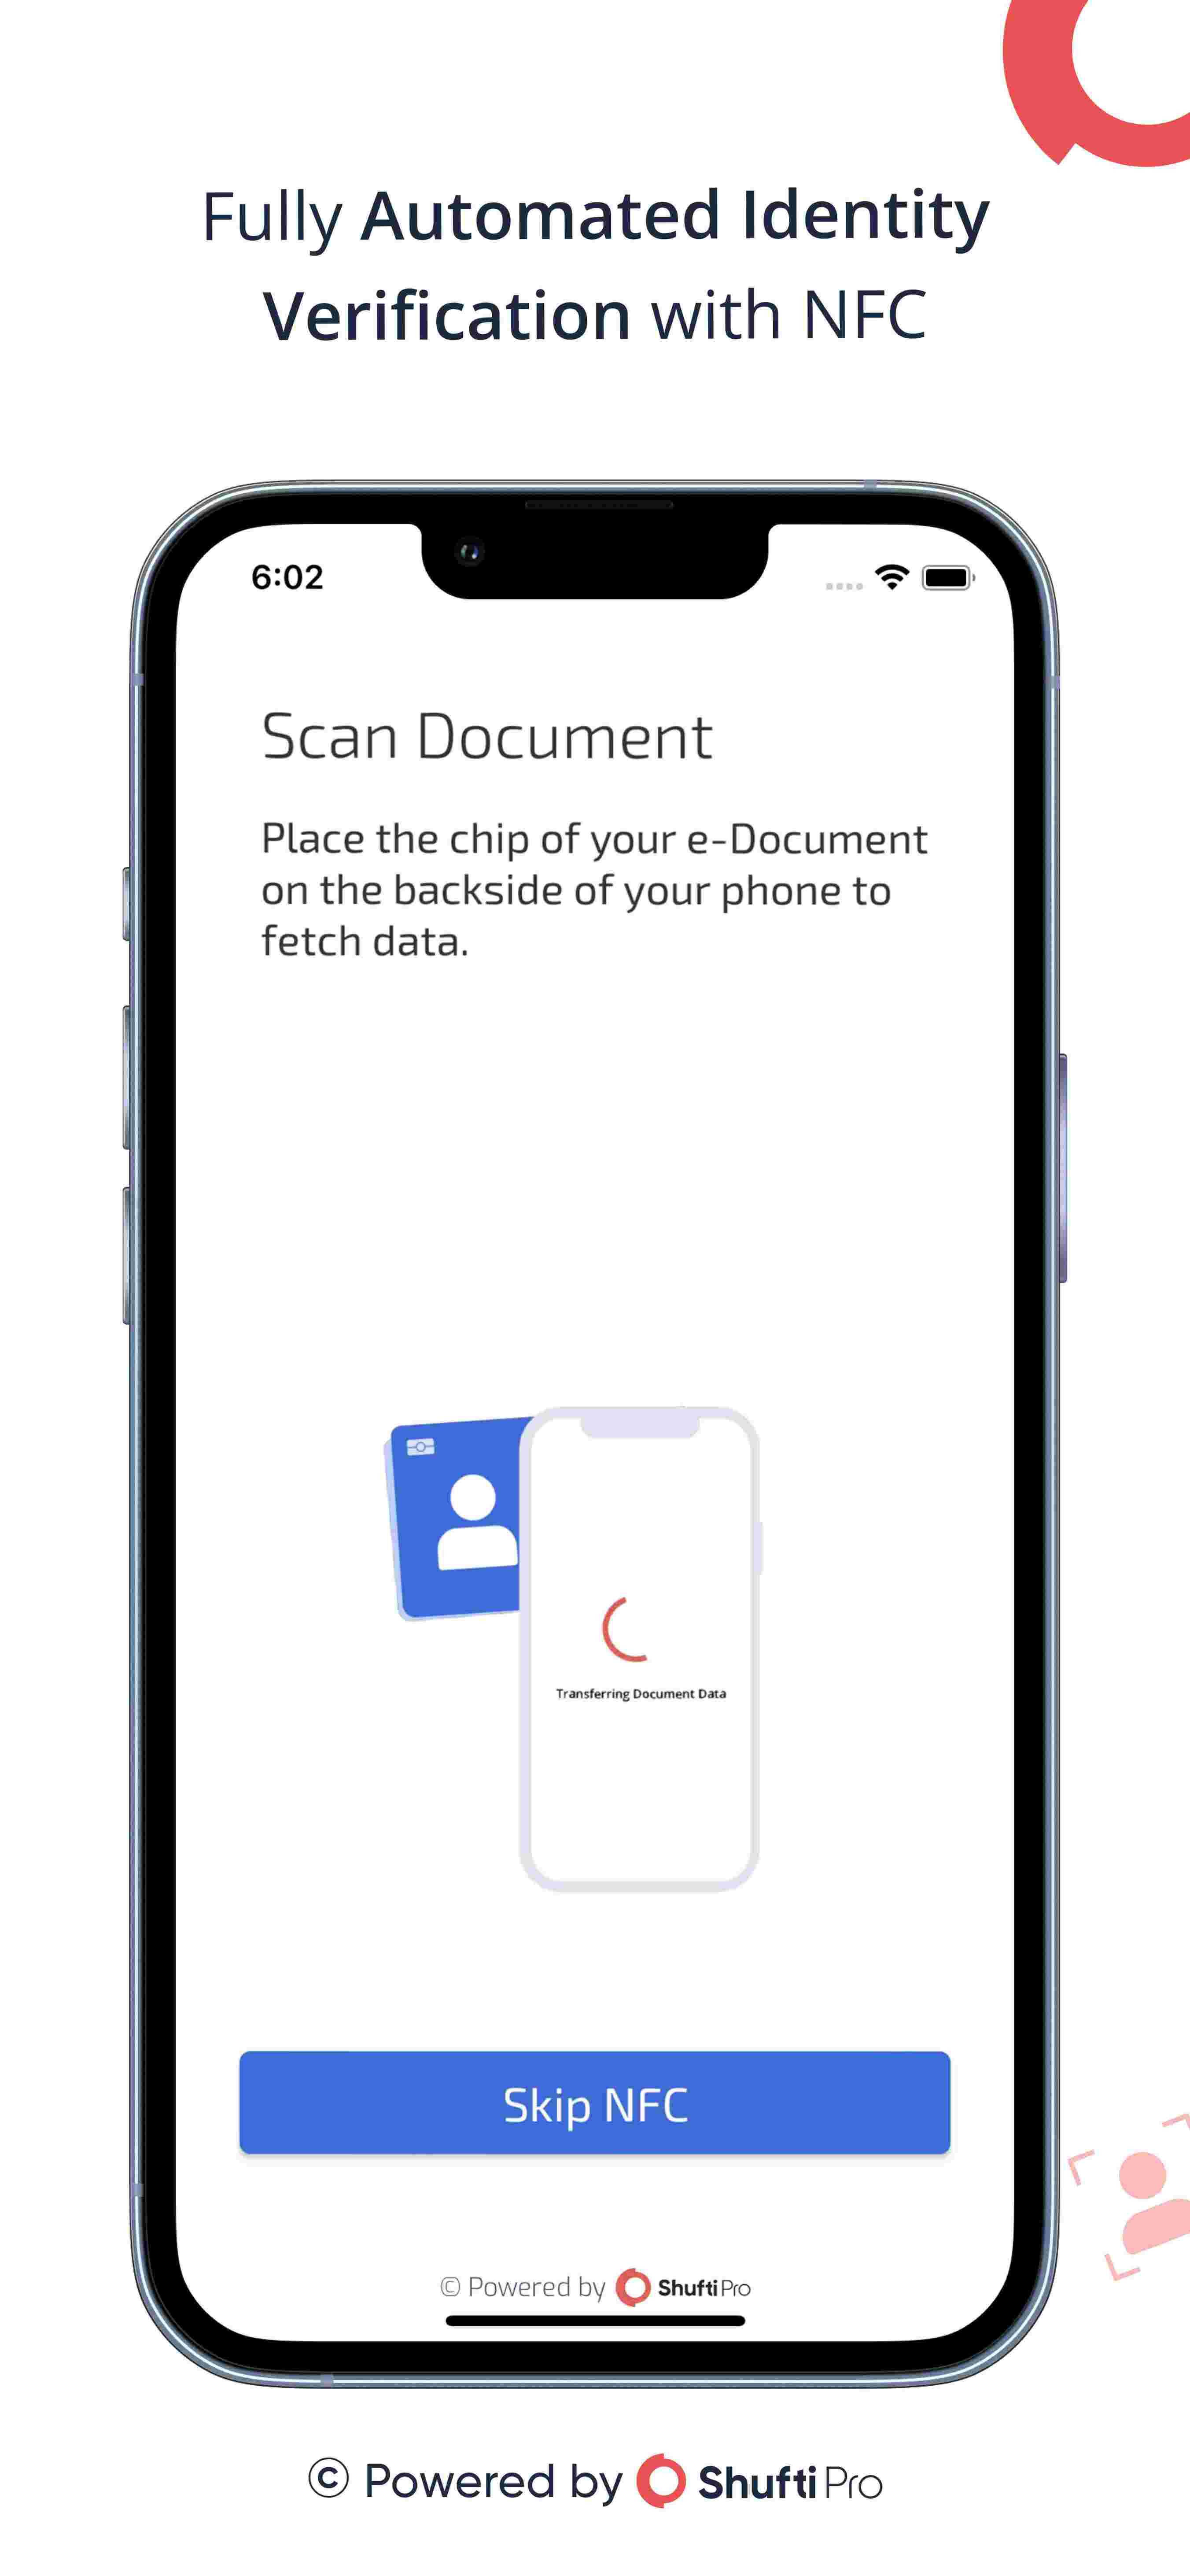
SDK Flow

Demo Application
You can install the Shufti Pro's demo application for Android and iOS platforms to see the basic verification flow using Shufti Pro.


Getting started
To use Shufti Pro's mobile SDKs, you must make some preparations
- Obtain authorization keys
- Choose required platform
Authorization Keys
To generate requests using mobile SDKs, you need to obtain the authorizations keys by following given steps here.
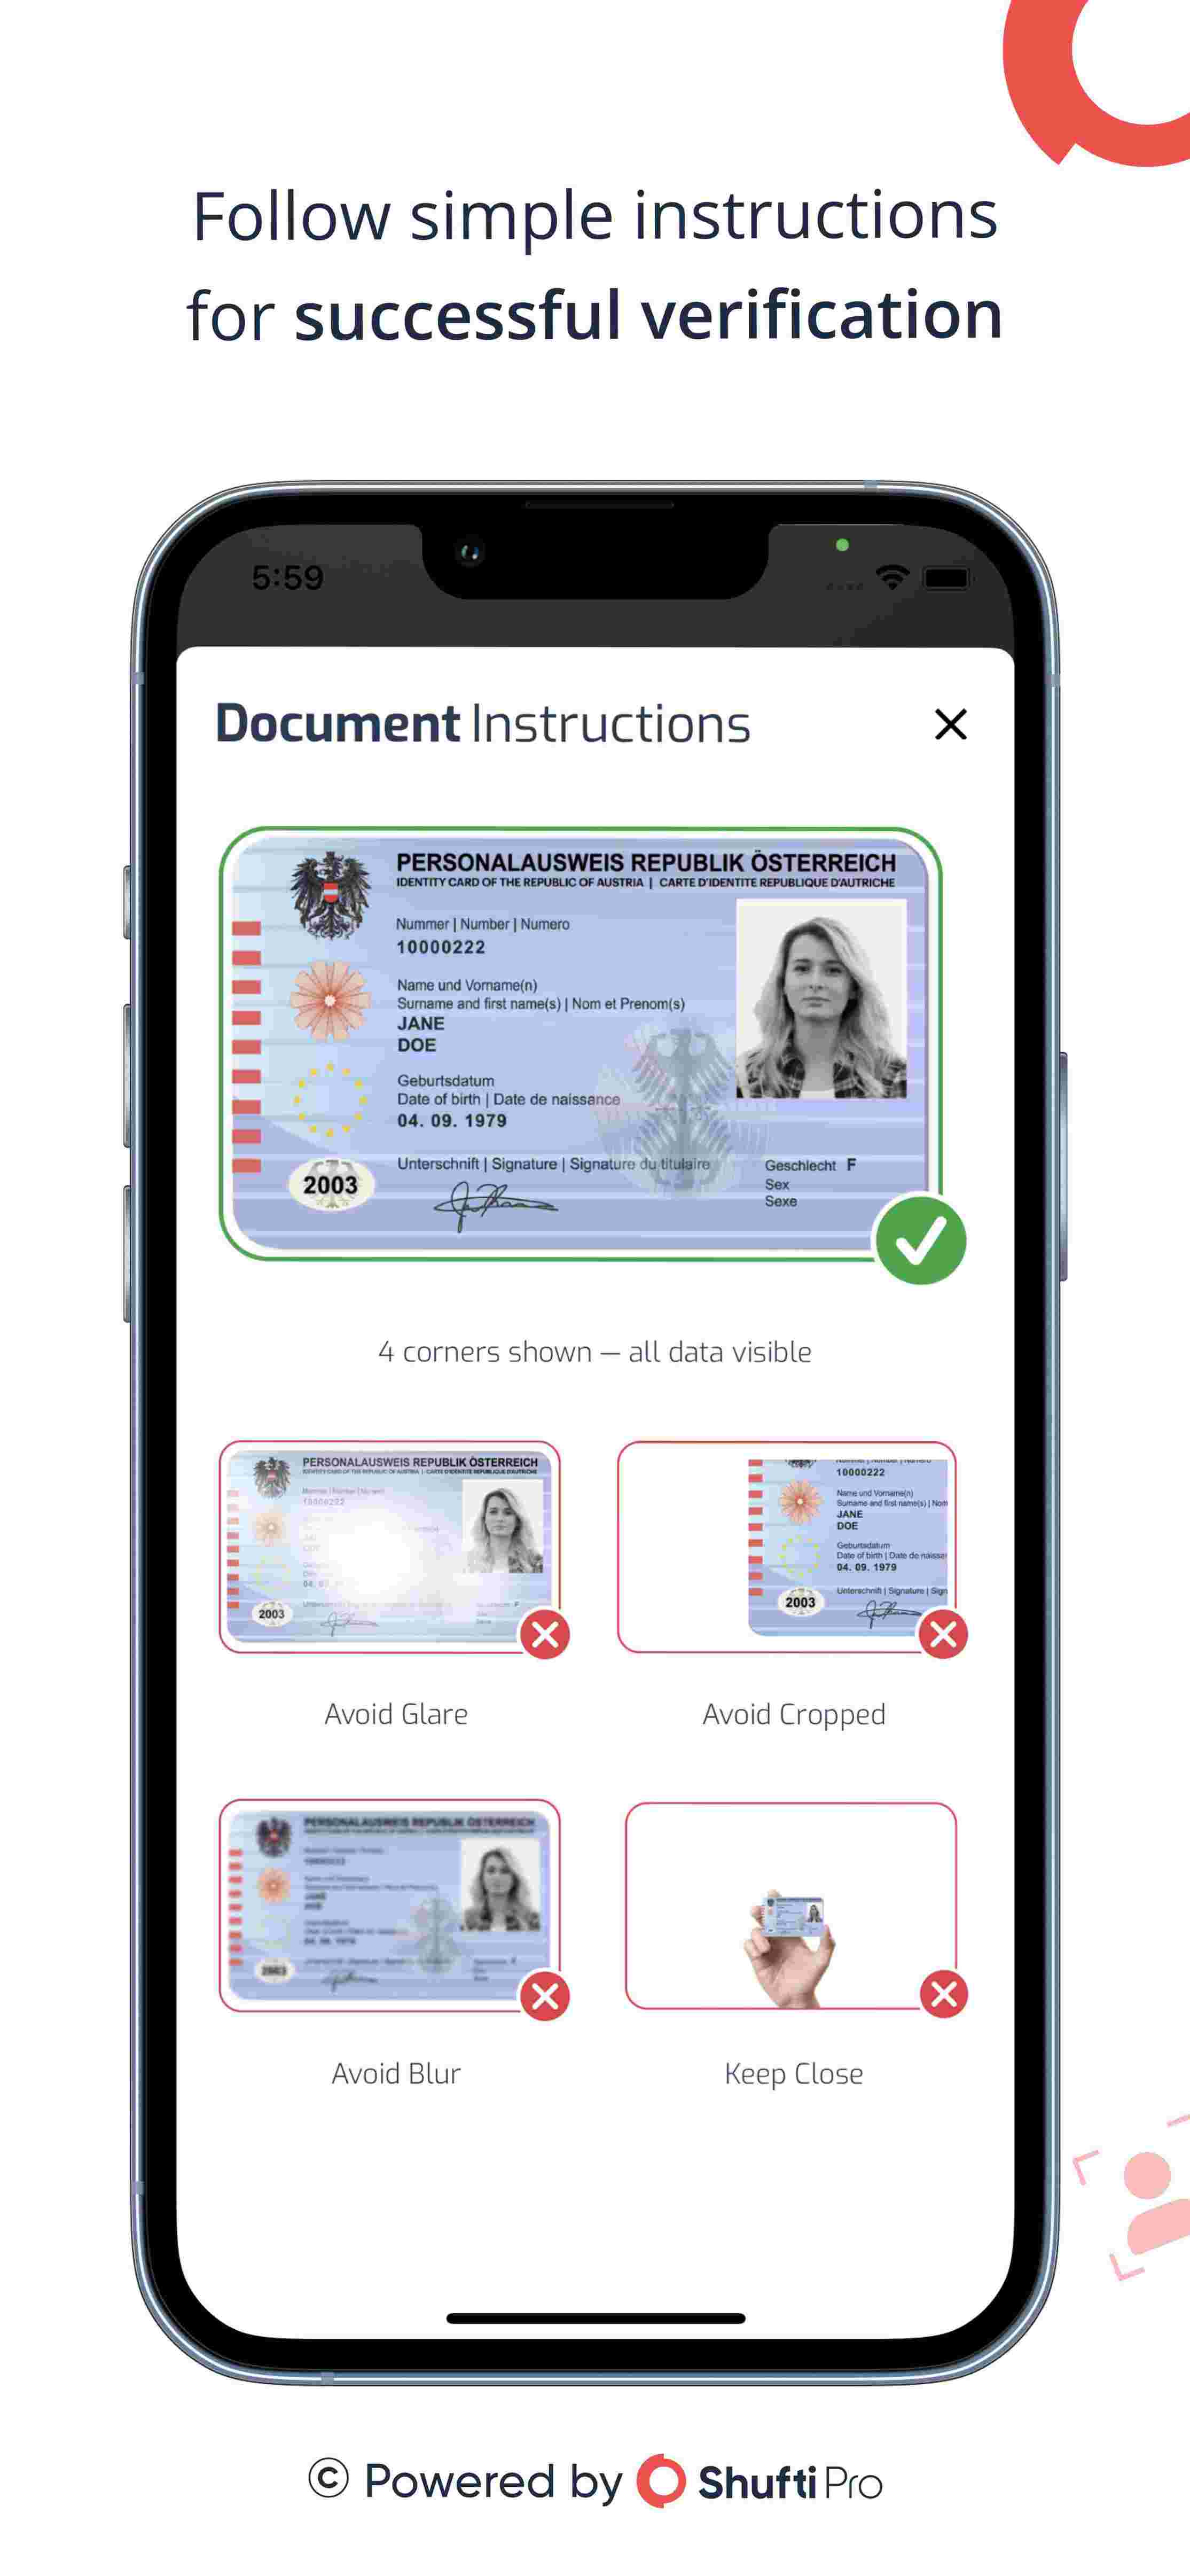
Permissions
Shufti Pro's mobile SDKs require few in-app permissions to function correctly.
- Camera Permission
- Storage Permission
- Internet Permission
All the permissions are already handled in SDKs